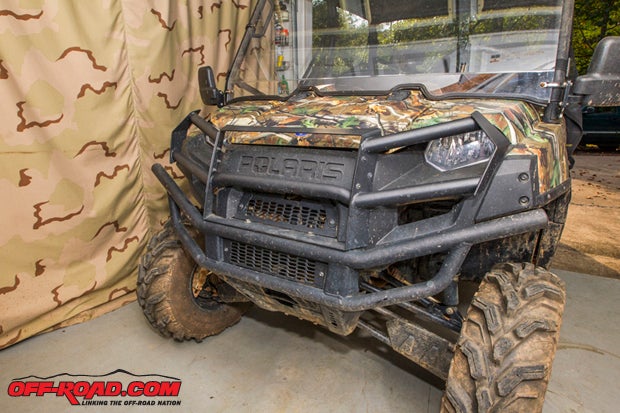
How To: UTV Winch Installation

Feb. 17, 2014 By Rick Sosebee
Always make sure you have plenty of working space and clean floors so you are not tripping over yourself while sliding around in front of the machine.

The very first thing I like to add to any big machine is a winch. The Polaris Ranger Crew that is used around deer camp always gets in the toughest spots. With it weighing in at hefty on the scales, it needs the extra help in case it gets stuck.

The winch we’re using in the install came to us from the wonderful world of eBay, and I personally had not heard of the brand but hey, it is worth a shot.  I have laid out a multi-step process to get the machine apart and back together with the least amount of problems. The engineers at Polaris included a winch solenoid mounting spot with the machines under hood plastics as they offer a factory winch. This will make our job just a little bit easier. So here we go.
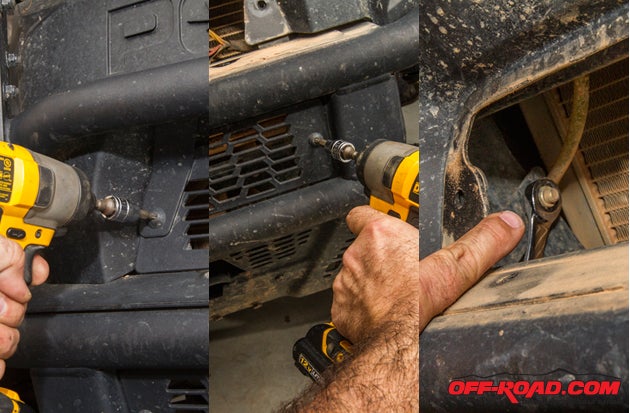
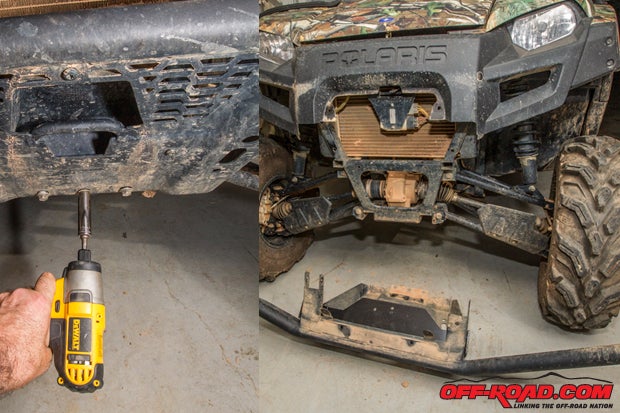
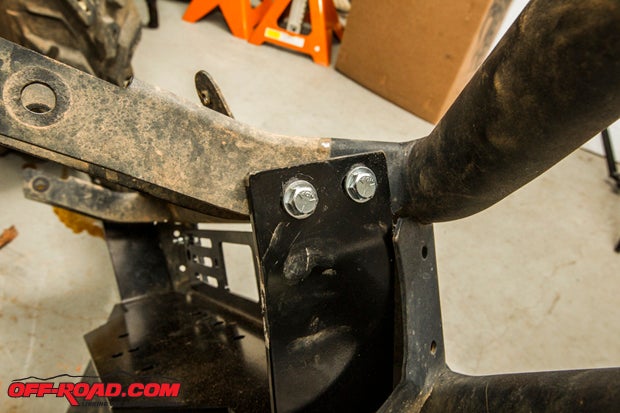
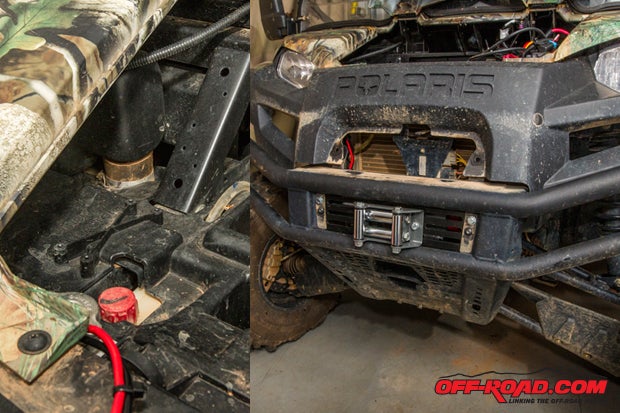
There are several 12mm bolts holding the front bumper on. The upper bumper, upper filler plate and lower filler plate had to be removed so we could access the nuts on the backsides of the upper bumper mounting bolts.

Once those two upper bolts are removed, the three lower bolts at the bottom bash plate on the bumper need to be removed. After that, the bumper comes off easily.

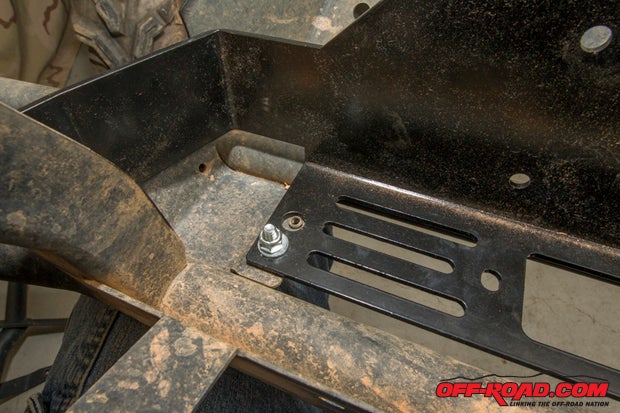
Slipping the mounting plate into the backside of the front bumper we noticed it did not fit exactly. This is common with non-OEM parts and is just something we have grown used to. Using the supplied Nylox nuts and bolts in the winch mount kit, we bolt the winch mount into place.

The winch plate also needed to be bolted onto the top bumper mount rail, so we drilled four holes in place using the pre-punched holes in the winch plate as our guide and bolted them accordingly.

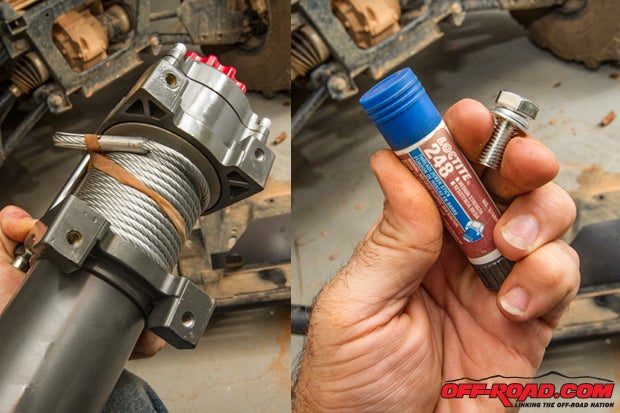
Mounting the winch onto the supplied winch mount plate we used blue Loctite to secure the bolts and insure that they wouldn’t back out.

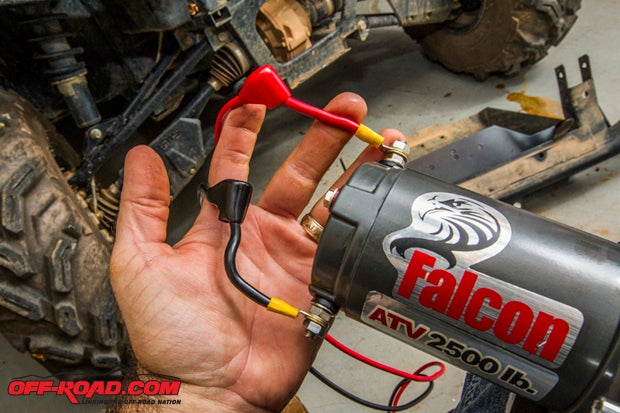
Wiring is best done on the winch motor while the bumper is still off of the machine. This gives you room to gently tighten the power leads without stripping them. If you do not use two wrenches (one to hold the base nut and one to tighten the top nut) you will most likely strip the internal wire leads and ruin the winch. Remember, it does not take a feat of strength to tighten this nut-and-lock washer.

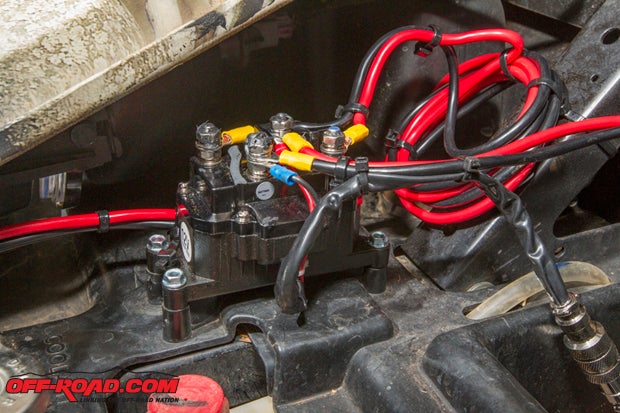
After remounting the Ranger’s bumper and carefully weaving the wiring up into the electrical bay of the ranger we mounted our solenoid in the designated spot on the right side under the hood. Just four self-tapping screws hold the solenoid in place perfectly. It even says in large letters “winch contactor.”

Wiring the winch according to the manufacturer’s instructions is important, and we suggest reading these instead of using this setup as an example. However, routing wires and wire tidiness can be used as a reference, as we wanted to keep the area clutter-free. You will have two larger diameter wires coming up from the winch and two going from the contactor to the power source as well as the ground of the power supply.

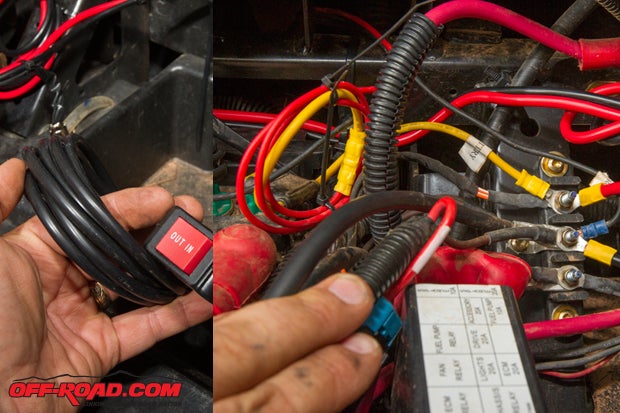
Polaris has always been a forward-thinking company, and they supply the consumer with a power post block just for adding extras like our winch. Adding winch power on to the “switched 12-volt” proved to be too much for the 10-amp fuse, so we decided to add the power out to contactor wire to an “always on” 12-volt post. This means that if you need the winch the key switch does not have to be on to operate it.

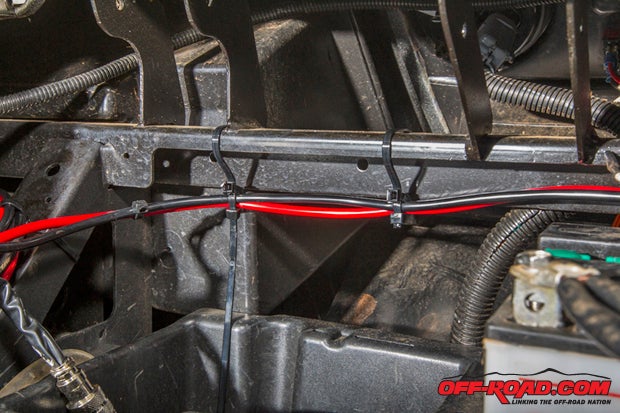
The final operations before use would be to tidy up the wires using zip ties to loosely contain the wires and keep them out of harm’s way. The winch was then tested and put to full use the next day!

Remember to take your time and really think of the placement of each wire and whether it will be affected during a ride. You want a tidy install so that no wires get hung up on anything in the great outdoors, and also so it looks like you really care about your ride. Take pride in the work and that in itself will add light years to your machine’s existence!
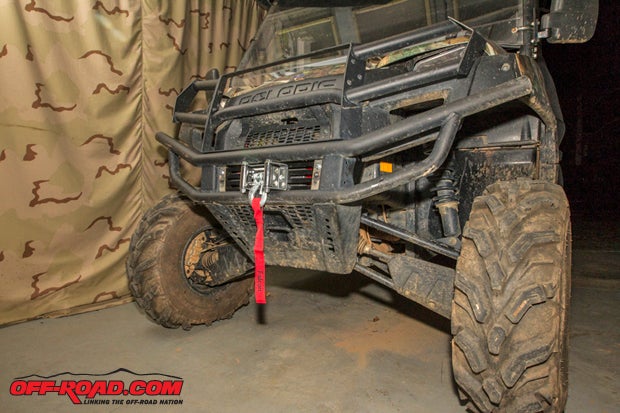
Our Polaris is now equipped with a winch that will help get usa out of any off-road jams.


Off-Road.com Newsletter
Join our Weekly Newsletter to get the latest off-road news, reviews, events, and alerts!